As the weather cools and the days grow shorter, there’s nothing like snuggling up by the fireplace, watching the flames flicker. But, if it’s been a while since your initial gas fireplace insert installation, it might be time to replace your logs.
“Can I replace logs in a gas fireplace myself?” you might be wondering. The answer is yes, as long as you use the right tools and follow proper safety precautions. With our step-by-step guide to replacing the logs in your gas fireplace, you’ll have everything you need to get the job done safely and effectively.
1. Choose the right logs for your gas fireplace
2. Prepare for the project
3. Remove the old logs from your gas fireplace
4. Install the new logs in your gas fireplace
5. Test the setup
6. Maintain you gas fireplace logs
1. Choose the right log set for your gas fireplace
Before you begin the replacement process, it’s crucial to choose the right logs for your fireplace. Not all logs are created equal, and selecting the right type ensures that your fireplace works properly and looks great.
Vented vs. Ventless logs
First you will need to determine whether the logs you are replacing need to be vented or ventless. You should consult with someone knowledgeable about Fireplaces, like one of our Pros to confirm which type of log you need.
Vented logs are designed to operate with an open chimney or flue. If your fireplace set-up has some kind of vent, like a chimney, pipe, or gas line, this is a good bet that you’ll need vented logs. In general, vented logs produce a more realistic, natural-looking flame, but a portion of the heat escapes through the vent, making them less efficient for heating.
If you don’t see a chimney or flue, it's likely you will need to replace with ventless logs. Ventless logs tend to be more efficient heat-wise, but the flame may not look as real as with vented logs. Additionally, it is important to note that in certain localities, ventless fireplaces/logs are prohibited.
Other key considerations
- Size: The logs you choose need to fit properly within your fireplace. Measure the width, height, and depth of your fireplace to ensure the logs aren’t too big or too small. Most logs come with sizing recommendations based on standard fireplace dimensions.
- Heat Output: Consider how much heat you want your fireplace to produce. Logs come with a British thermal unit (BTU) rating, which indicates the amount of heat they’ll generate. Choose a set that matches your heating needs — be sure not to exceed your fireplace’s maximum BTU rating.
- Material and Aesthetics: Finally, choose logs that match the look you want. Ceramic logs are the most common and can be designed to mimic the appearance of different wood types like oak or pine. Refractory cement logs are another option, offering durability and a more rustic look.

2. Prepare for the project
Take safety precautions
Safety should always come first when working with gas appliances. Here are some critical steps to follow:
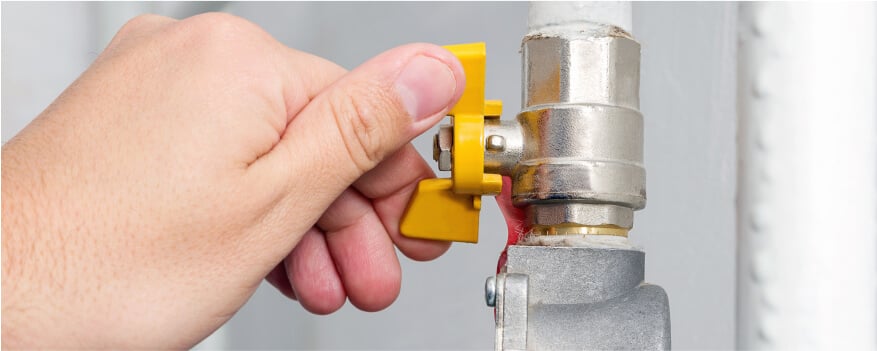
- Turn Off the Gas Supply: Before doing anything, locate your gas valve and turn it off to prevent gas from flowing while you work.
- Ensure the Current Logs Are Cool: If you’ve used your fireplace recently, make sure the logs have cooled completely before handling them.
- Wear PPE (Personal Protective Equipment): Gloves and safety goggles are a must to protect yourself from dust, debris, and potential sharp edges
- Check for Gas Leaks: If you have even a sliver of doubt about anything gas-related, consult a professional.
Gather your tools and materials
Nothing derails a project faster than realizing halfway through that you’re missing a tool. Make sure to gather everything you need before you even think about touching those logs:
- Adjustable wrench
- Screwdriver set
- Gas line tape
- Cleaning supplies
3. Remove the old logs from your gas fireplace
Now that you're prepped and ready to go, you can remove your log set from the gas fireplace by following the instructions below:
- Disconnect the Gas Line: Using your trusty wrench, carefully disconnect the gas line from the old logs. It’s like a reverse installation — just make sure you keep track of where everything is going.
- Lift Out the Old Logs: Gently lift the logs out of the fireplace and set them aside. Do this step slowly, so you don’t stir up a big, sooty dust cloud.
- Clean the Fireplace Area: Time to brush up and make a fresh start. Use that vacuum or brush to clean up all the ash, dust, and debris hanging out in the fireplace. You want a clean, smooth surface to place your new logs on.
With the old logs out and the fireplace clean, you’re officially ready for the new installation. (Pat yourself on the back — you’ve earned it.)

4. Install the new logs in your gas fireplace
Now that the old logs are out and your fireplace is looking spotless, replace the logs in your gas fireplace. The replacement logs that you’ve ordered will likely come with their own set of instructions, but in general, you can follow these steps:
- Position the Logs: Start by placing the new logs in the fireplace according to the manufacturer’s instructions. Each log set is designed to be arranged in a specific way to ensure proper airflow and flame distribution, so resist the urge to improvise. The goal is to create an arrangement that looks good and works safely and efficiently.
- Secure the Logs: Once the logs are arranged correctly, make sure they’re stable and not at risk of shifting when the fireplace is in use. Some log sets come with clips or brackets to help keep everything in place. If yours doesn’t, make sure each log feels sturdy in its position.
- Reconnect the Gas Line: Using the adjustable wrench, carefully reconnect the gas line to the new logs. Double-check that everything is securely fastened. Take your time here — any loose connections can lead to gas leaks, which you’ll want to avoid at all costs.
5. Test the setup
With the new logs in place, make sure everything works as it should. Time to test the fireplace’s safety.
Turn the gas back on
Start by turning the gas supply back on. Once the gas is flowing, you’ll want to check for any potential leaks. A simple method for this uses a mixture of soapy water — apply it to the gas line connections and look for any bubbles.

Safety Tips
from Frontdoor Expert
If you see bubbles forming, that’s a sign of a leak. You’ll need to tighten the connections or consult a professional.
Light the fireplace
Follow the manufacturer’s instructions to light the fireplace. Watch closely as the flames ignite to ensure they’re burning cleanly and evenly. Uneven flames or odd colors, like yellow or orange instead of blue, could indicate improper log placement or a more serious issue with the gas flow.
Monitor the flames
Let the fireplace run for a few minutes, watching to make sure everything is functioning smoothly. If the flames are steady and there are no signs of a gas leak, you’re good to go. If you notice anything unusual, take a step back and consult a Frontdoor® Expert for advice.
6. Maintain your gas fireplace logs
Congratulations — your new logs are installed and working beautifully! Now, the goal is keeping your gas fireplace insert installation in good shape for years to come. Ideally, the lifespan of gas fireplace logs can be as long as 10 years, although ventless logs tend to last closer to 3-5. Regular maintenance extends the life of your logs, as well as making sure that your fireplace is always working in top form.
Regular cleaning
Over time, your fireplace will accumulate dust, soot, and other debris. Make a habit of cleaning it periodically, especially around the logs and gas line. A vacuum with a hose attachment works well for this, but be sure to follow any specific cleaning instructions from the manufacturer.
Inspect the gas lines
At least once a year, take a close look at the gas lines for signs of wear, corrosion, or leaks. If you spot anything concerning, it’s best to call in a professional to address the issue.
Schedule professional maintenance
Even if everything seems to be running smoothly, it’s a good idea to schedule an annual inspection by a handyperson. They can check for potential problems and perform any necessary repairs, keeping your fireplace safe and efficient.
Keep warm and cozy with Frontdoor
You’ve successfully tackled the process of replacing logs in a gas fireplace— from choosing the right logs and ensuring safety to making the swap itself. With everything in place, your gas fireplace is ready to warm up your space and elevate its cozy ambiance.
Need a little extra support or have questions along the way? Frontdoor has you covered. With the app, you can video chat with qualified home repair Experts who can walk you through the replacement process step-by-step, and get recommendations for local Pros who can help with more complex tasks. If you don’t have a gas fireplace yet, they can also assist in setting you up with a gas log insert for an existing fireplace.
Take control of your home maintenance today. Download the Frontdoor app and start making home improvement a breeze!
Was this article helpful?


