
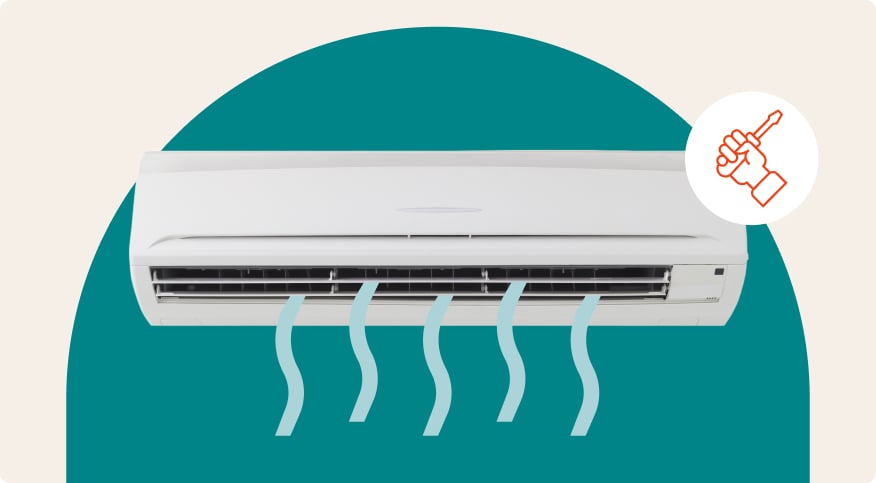
Beat the heat without ductwork drama or hiring a whole HVAC crew. AC wall unit installation is easier than you might think, and we’re here to walk you through it, step by step.
Why choose a wall AC unit?
Not every home has ductwork—and even when it does, that doesn’t mean every room gets cooled evenly. If you’ve got hot spots in your house or an add-on space that never seems to catch a breeze, wall air conditioner installation is a great HVAC solution.
Here’s why they’re worth considering:
-
1
No ducts? No problem
Wall AC units are a great type of HVAC system for homes without central air or for older homes where adding ducts isn’t practical.
-
2
Perfect for single rooms or additions
From your sunroom to your converted attic, wall AC unit installation gives you independent climate control without tapping into your main system.
-
3
More efficient than window units
Wall-mounted units are generally better sealed and insulated than window ACs, which can leak air and block light.
-
4
A cleaner look
Unlike bulky window units, mounting an air conditioner in the wall gives you a more streamlined and permanent setup (and keeps your windows usable).
Choosing a unit
Efficient wall AC unit installation starts with picking the right model. After all, they’re not all created equally, and you want to choose a model that works for your space and lifestyle. Here's how to get it right the first time.
Match BTUs to your room size
The cooling power of a wall AC unit is measured in BTUs (British Thermal Units). Too many BTUs, and the unit will cool the space too quickly without properly dehumidifying. Too few, and it’ll struggle to keep up.
As a general rule:
- 100–150 sq. ft. = 5,000–6,000 BTUs
- 150–300 sq. ft. = 6,000–8,000 BTUs
- 300–500 sq. ft. = 8,000–12,000 BTUs
- 500–700 sq. ft. = 12,000–14,000 BTUs
If your room gets a lot of direct sun, has high ceilings, or includes kitchen appliances, consider bumping up one BTU level for better performance.
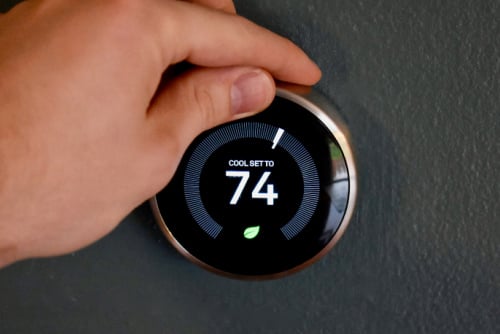
Look at efficiency ratings
A good energy efficiency rating means your unit is good for the planet and good for your wallet. Look for a high EER (Energy Efficiency Ratio) or SEER (Seasonal EER) rating when shopping for units. The higher the number, the less energy it takes to cool your space.
Features to consider
Some features aren’t essential, but they can make life a lot more comfortable. Think about how important the following add-ons might be for you:
- Remote controls or smart thermostats
- Programmable timers
- Dehumidifier modes
- Washable filters
- Quiet operation settings.
What about cost?
Basic through-the-wall AC units can start around $400–$700, while more advanced or energy-efficient models may cost $1,500–$7,500+. That doesn’t include installation tools or materials, so budget accordingly if you’re planning to DIY.
Download our free guide to choosing a wall AC unit today.
-
1
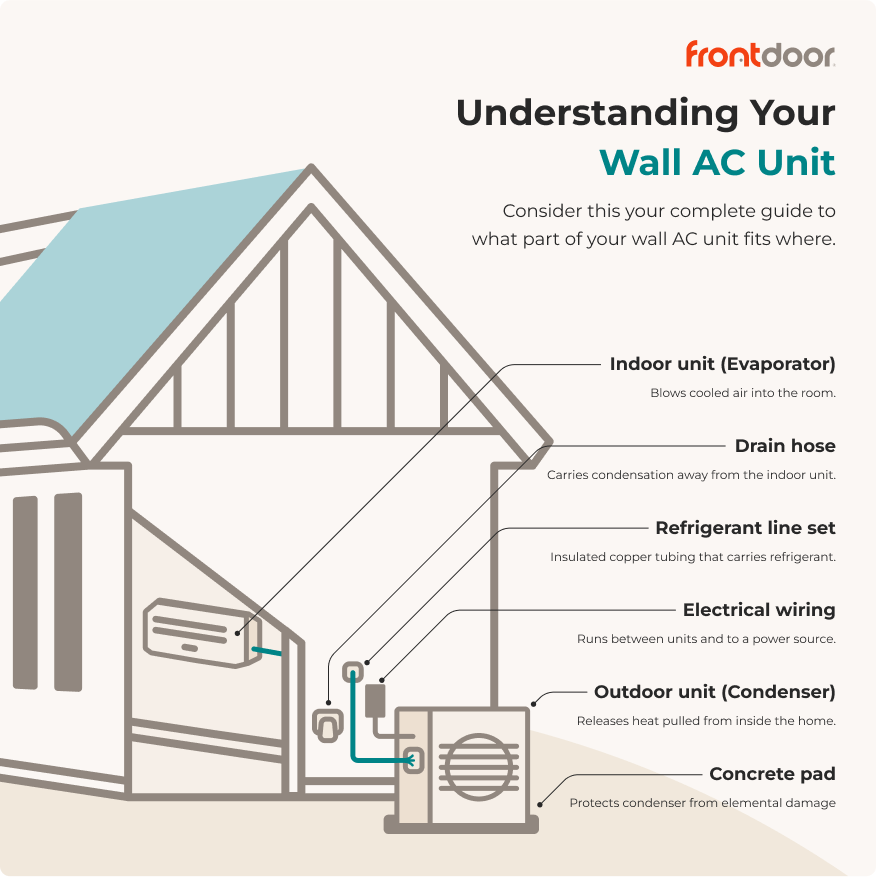
Choose an exterior-facing wall
You should be mounting your indoor air conditioner unit on a wall that connects to the outside. This allows for easier installation of refrigerant lines, drainage, and power.
-
2
Avoid blocked or crowded spots
Keep the unit away from bulky furniture, tall shelving, or anything that could block airflow. Ideally, you want it near the center of the wall, about 7 feet from the floor, with at least 6 inches of clearance on all sides.
-
3
Place it near a window if possible
While not essential, wall AC unit installation near a window can make venting and draining simpler, especially if you're running a drain hose out.
-
4
Check what’s behind the wall
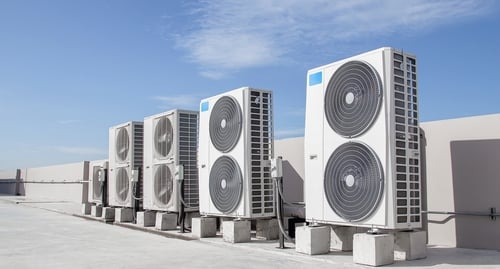
You’ll need to install the outdoor (condenser) unit directly behind or close to the indoor unit. Make sure there’s space available on the exterior.
-
5
Pick a good spot for the outdoor unit
The condenser should sit on a stable, level surface like a concrete pad or mounting bracket. It should be out of direct sunlight if possible, and have at least 12 inches of clearance on all sides for airflow.
-
6
Keep the distance short
Try to minimize the distance between the indoor and outdoor units. Shorter refrigerant lines are more efficient and reduce the risk of leaks or pressure drops.
-
7
Plan for power and drainage
Make sure there’s a nearby power source, like a dedicated electrical outlet or hardwiring point. You’ll also need to route condensation away from your home’s siding or foundation, so consider where a drain hose will exit.
Preparing for AC wall unit installation
You’ve chosen the right unit and picked the perfect spot. Now it’s time to get your hands on the tools, prep your wall, and set yourself up for a smooth AC wall unit installation. Wall air conditioner installation doesn’t require a garage full of pro gear, but a little planning goes a long way.
Tools and materials
Here’s what you’ll likely need:
- Drill + bits (masonry and wood)
- Level and measuring tape
- Stud finder
- Hole saw or reciprocating saw
- Screwdrivers
- Caulk and weatherproof sealant
- Foam insulation or weather stripping
- Mounting hardware (usually included with your unit)
- Safety glasses and gloves
- Electrical wire (check unit requirements)
- Concrete pad or wall bracket for the outdoor unit
- Drain hose and clamps
Mark and measure everything twice
Start inside: measure the wall height, stud spacing, and clearance to make sure the indoor unit fits snugly and evenly between framing. Use a level to mark exactly where the wall sleeve or mounting bracket will go.
Then move outside: confirm that your outdoor condenser has solid footing (like a pre-leveled pad or bracket), plus plenty of clearance on all sides. You don’t want to start drilling through your wall without a clear idea of what’s ahead!
Wiring and electrical
Wall air conditioner installation means dealing with real electrical power—so safety is key. If you're ever unsure, get an Electrical Pro to handle the hookup. But if you're confident and following your unit’s instructions carefully, here’s what to know:
Know your power requirements
Most wall AC units require a dedicated 220V outlet and a circuit breaker sized to handle the unit's amperage—often 15 or 20 amps, but always check the manual. Plug-in models may only need a standard 120V outlet, but they’re usually lower BTU and meant for smaller spaces.
Ground everything properly
Your unit should be grounded through the power supply. Improper grounding can create a shock hazard and may void the warranty.
Plan your wiring route
Wiring typically runs through the same hole as the refrigerant and drainage lines, so it’s best to group everything into one clean, sealed opening through the wall. Always use rubber grommets or conduit to prevent wire damage.
Electrical safety tips
- Turn off power at the breaker before working with any wiring.
- Use a voltage tester to double-check power is off.
- If hardwiring the unit, make sure the wire gauge matches amp load.
- Follow all local building codes and permit requirements.
Still have questions about AC installation? Our Experts are just a video chat away.

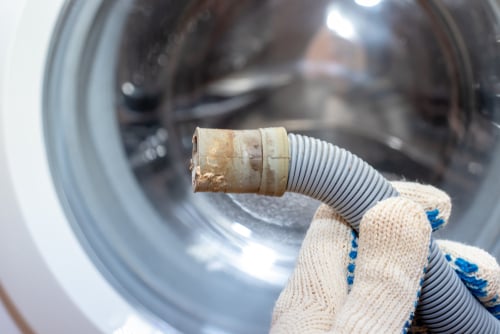
Installing drainage
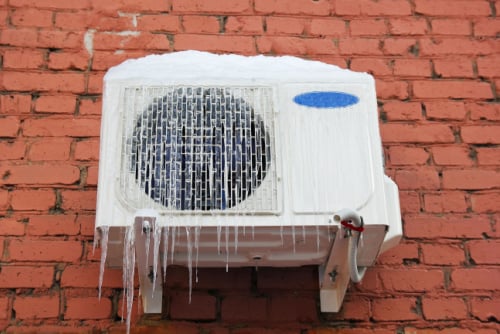
Your wall AC unit cools your home by pulling moisture out of the air, and that water needs somewhere to go. Without a proper drainage setup, you could end up with soggy drywall, mold, or even structural damage.
Why drainage matters
Even in a dry climate, your wall AC unit can produce pints of condensation per day. If that moisture can’t exit the unit and flow away safely, it may leak inside or damage the wall over time.
How to install a drain hose
Most wall AC units include a drain outlet near the bottom of the indoor unit. Here’s how to set it up:
- Attach a drain hose to the outlet, using a clamp if needed.
- Slope the hose downward through the wall opening and to the outside.
- Route the hose to a safe drainage spot, like gravel, a rain gutter, or a garden bed.
- Seal the opening where the hose exits the wall with caulk or weatherproof foam to keep out pests and moisture.
For some larger units, or in very humid climates, you may want to install a condensate pump to move water to a better drainage area.
Mounting units
With the wall prepped, wiring in place, and drainage ready to go, it’s time to mount the air conditioner in the wall. This is the time to take it slow, double-check your measurements, and use the right tools for a snug, level fit.
Mounting the indoor unit
- Install the wall sleeve or bracket. Use a level and stud finder to securely mount the bracket between wall studs. If your unit includes a metal wall sleeve (common with through-the-wall models), this needs to be inserted and sealed into the wall opening.
- Cut the wall opening. Using your marked measurements and a reciprocating saw or hole saw, cut an opening through drywall and exterior sheathing wide enough for the sleeve and lineset.
- Feed through the refrigerant lines, drain hose, and wiring. Run all components through the wall opening at once. Be sure to use rubber grommets or protective sleeves where they pass through the wall.
- Slide the unit into place. Carefully insert the indoor unit into the sleeve or onto the bracket, making sure it sits securely and level. Double-check that it’s tilted slightly backward to allow proper drainage.
Mounting the outdoor unit
- Position the condenser. Place the outdoor unit on a stable base with at least a foot of clearance around all sides.
- Connect refrigerant lines and wiring. Follow manufacturer instructions to attach lines and power connections. Ensure all seals are tight and leak-free.
- Check for level. A tilted outdoor unit can strain the compressor and reduce efficiency. Use a level to adjust the base as needed.
Insulating the unit
Insulation might not be the flashiest part of AC wall unit installation, but it plays a huge role in keeping your home comfortable and your energy bill in check. Properly sealing gaps helps prevent cooled air from escaping and warm, humid air from sneaking in.
Seal the edges
Once the indoor unit is mounted, seal any open gaps around the wall sleeve or hole with foam insulation or weather stripping. Don’t forget to seal both sides of the wall—inside and out—to prevent leaks and bugs.
Wrap refrigerant pipes
Use foam pipe insulation to cover any exposed refrigerant lines. This improves efficiency and helps prevent condensation and frost buildup during operation.
Weatherproof the exterior
Finish by sealing around all exterior connections—refrigerant lines, drain hose, and wiring—with caulk or weatherproof foam. This helps keep out moisture and pests, while preserving your home’s insulation envelope.
Final checks and testing
Before you kick back and enjoy that cool breeze, run through these final checks to make sure your wall AC unit installation was a success:
-
1
Verify all connections
Tighten refrigerant lines, electrical terminals, and drain hoses.
-
2
Test the power
Flip the breaker and turn on the unit. It should power up without tripping the circuit.
-
3
Run the system
Let it run for 15–20 minutes on a cool setting. Check for cold airflow, vibrations, or strange noises.
-
4
Look for leaks
Inspect refrigerant lines and the drain hose for drips or signs of moisture.
-
5
Check airflow
Make sure air is moving freely inside and outside the unit.
Ongoing maintenance and care tips
Now that you’ve figured out how to install an AC unit in a wall, the next step is keeping it in tip-top shape. Staying on top of regular maintenance, especially right before summer AC season, extends the lifespan of your unit and helps you avoid surprise breakdowns.
Here’s what to keep an eye on:
- Clean or replace the air filter monthly, especially during heavy use.
- Keep the outdoor unit clear of leaves, dirt, and debris. Trim back any plants or bushes nearby.
- Check refrigerant levels annually (or sooner if cooling performance drops).
- Inspect for condensation leaks, particularly around the drain line.
- Tighten mounting hardware once a year to prevent vibration damage.
- Schedule a professional tune-up each year for optimal performance.
Keep your cool with Frontdoor®
Wall air conditioner installation is no small task. Whether you’re just starting to think through the project or knee-deep in drywall and not sure how to proceed, Frontdoor is here to help.
With the Frontdoor app, you can video chat with a licensed HVAC Expert who can talk you through your exact setup, tools, and questions. Not sure about the electrical? Wondering if your unit is level enough? We’ve got your back.
And if it turns out you need an extra hand, Frontdoor can send a trusted local Pro to your home to pick up right where you left off.
Take your HVAC into your own hands. Download the Frontdoor app and get started today.
Was this article helpful?
