Streamline Your Annual Water Heater Maintenance
Whether you realize it or not, proper water heater maintenance is critical for a happy household. In fact, your water heater likely does more than you or anyone else in the family gives it credit for.
Your water heater is responsible for delivering comfortable showers, removing big stains in the laundry, keeping your hands clean, removing caked-on dirt from your dishes, and helping you scrub floors and surfaces around the house—all of which are critical tasks for maintaining a healthy and happy household!
So when your water heater goes on the fritz, it often seems like an emergency.
We’re here to help. At Frontdoor®, we’ve built a database of tools and resources to ensure homeowners have the knowledge and skills necessary to tackle most household problems on their own—including proper water heater maintenance.
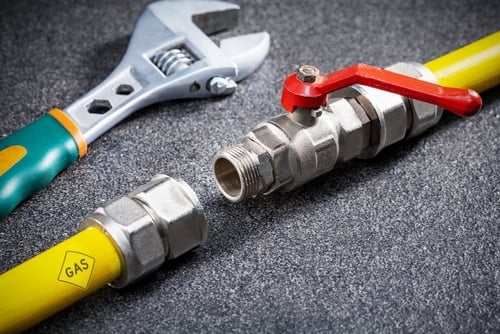
All water heaters need maintenance, regardless of whether you use a gas water heater, an electric water heater, or a tankless water heater. Under a typical maintenance schedule, you can generally expect your home’s water heater to last 8-13 years.
But if you give your tank the proper TLC, you might squeeze a few extra years of hot water out of it!
Gas and Electric Water Heater Maintenance Tips
A conventional water heater with a tank uses gas or electricity to heat up water, then stores it in a tank until you’re ready to use it.
Here’s what you should know to extend its lifespan:
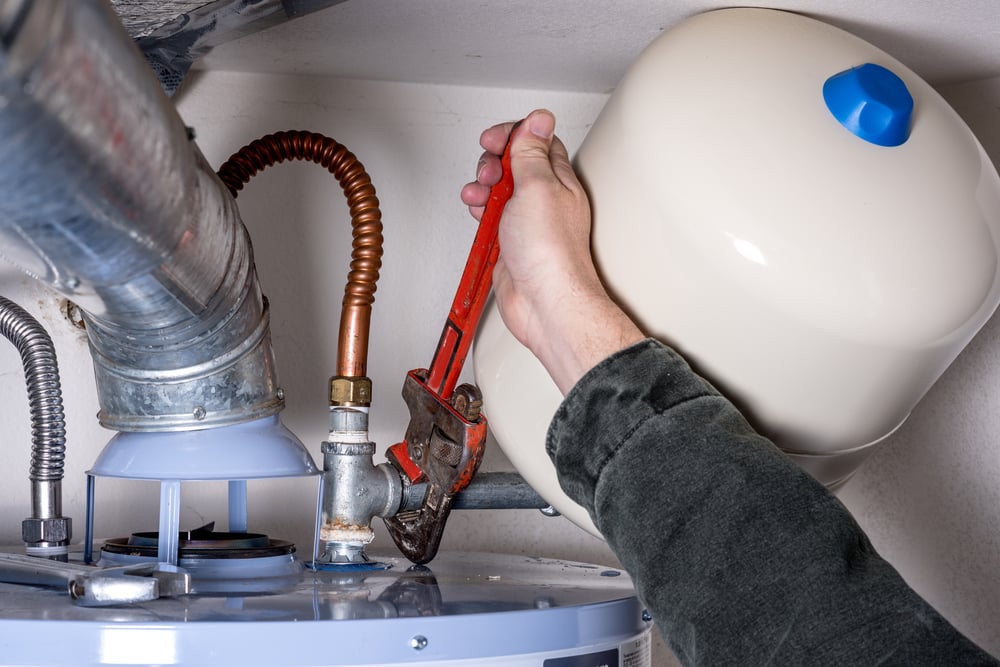
1. Test the Pressure Relief Valve
Before we discuss how to test the pressure relief valve, let’s talk about why this feature is so important.
The pressure relief valve is a potentially life-saving safety mechanism that can prevent your water heater from violently exploding if there’s too much pressure inside. When there’s too much pressure, the valve opens, and some of the pressure (and water) is released.
Here’s how to test your relief valve:
- Find the valve on the side of the water heater. It’ll generally have a copper or plastic discharge pipe extending from it.
- Place a bucket underneath the pipe. This will catch any spills!
- Lift the lever on the valve. If the valve is working properly, water should come from the pipe. If no water comes out, it’s time for a replacement!
2. Flush the Tank
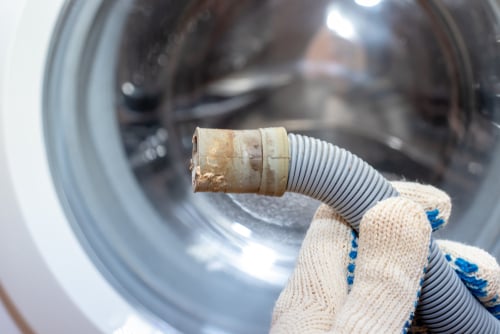
Whether you’re pulling water from a well or a public supply, your water is full of corrosive minerals and sediment that can gradually eat through the steel inside your water tank.
Regularly flushing your tank removes these minerals and prevents buildup.
Here’s how to do it:
- Turn off the power or gas and water supply.
- Open a hot water tap.
- Place a bucket under the pressure release valve.
- Open the pressure release valve.
- Drain the water from the tank until it runs clear. If you’re having trouble, empty your tank completely, then turn on the cold-water supply. Let this run until the water comes out clear and you no longer see sediment coming from the tank.
For older water heaters, or if the water heater hasn't been flushed regularly, sometimes this can cause more harm - moving the sediment to clog the drain valve for example. In those cases, it is better to have expert help.
Tankless Water Heater Maintenance Tips
As you might guess, tankless water heaters are designed much differently than conventional water heaters. Instead of storing hot water in a tank, these water heaters only heat water on demand—but they still need maintenance.
And even though many tankless water heaters will actually indicate when maintenance is required, you should still perform annual maintenance—especially if you have hard water.
Here’s how you can help extend the lifespan of your tankless water heater:
1. Flush the Water Heater
Flushing your water heater will help remove built-up sediment and corrosive minerals. Here are the steps to follow:
- Turn off the power or gas and the cold water access to the heater.
- Shut off the hot water valve from the unit to the house.
- Attach a garden hose to your unit’s cold-water isolation valve.
- Connect the other end of the hose to the outlet of a sump pump.
- Attach another hose to your unit’s hot-water isolation valve.
- Place the end of this hose in a five-gallon bucket.
- Place the sump pump into the same bucket.
- Fill the bucket with fresh, food-grade white vinegar.
- Open the cold water isolation valve.
- Open the hot water isolation valve.
- Turn on the pump.
- Let the vinegar circulate for 45 minutes.
- Remove the vinegar (you can pour it down a separate drain).
- Fill the bucket with plain water.
- Flush the system again for five minutes.
2. Clean Your Air Intake Filter
While you’re flushing your tankless water heater, take the opportunity to clean your air intake filter, which is critical for preventing debris from entering the water heater.
Here’s how to do it:
- Remove the unit’s faceplate to access the air intake filter. If necessary, check the user manual for detailed instructions. As we mentioned earlier, if you can’t find the manual in your house, you can likely find it online!
- Remove the filter.
- Rinse the filter with clean water.
- Dry the filter with paper towels or a clean rag.
- Reinstall the filter.
Note: The above DIY tips are for informational purposes only!
Find Expert Support for Your Water Heater Repairs And More
If you still need help with your water heater repairs and troubleshooting, download the Frontdoor App to talk to an expert in real-time!
To dig into more topics, explore the rest of our How-to Tips for time-saving home repair and maintenance checklists.
Frontdoor assumes no responsibility, and specifically disclaims all liability, for your use of any and all information contained herein.
Was this article helpful?