Whether you live in an older home or a new build, insulation inspection proves important. If you’re in an older home, you might be wondering if your insulation is still up to par or if it even meets current standards. Even if you have newer insulation, it’s natural for it to degrade over time due to natural wear and tear, shifting, moisture exposure, or even pests.
In this guide, we’ll show you how to check your insulation and take action to keep your home energy efficient and comfortable all year round.
How to check your insulation
Selecting the right materials for insulation repairs
Safety tips for working with insulation
How to perform insulation repair
When to call in the experts
Why it’s important to check your insulation
Without high-performing insulation, your home becomes less energy efficient, forcing your heating and cooling systems to work harder. This can result in uncomfortable drafts, increased energy bills, and inconsistent temperatures. In fact, studies have shown that well-insulated homes consume only 81% of the energy used by uninsulated homes, leading to significant energy savings — about $49 annually for homeowners.
Fixing or replacing your insulation will enhance temperature and humidity control and reduce dampness and mold — all factors shown to contribute to better health outcomes. The same study showed that homes with better insulation also experienced less instances of wheezing episodes, absences from school or work, and general practitioner visits compared to non-insulated homes.
Regular insulation inspections help you catch problems early, allowing you to make small fixes before they become big, expensive headaches — or jeopardize the health of your family.
How to check your insulation
While it may seem impossible to truly assess your home’s insulation without knocking out a part of the wall. Luckily, other solutions exist. Here’s how to check the insulation in your house:
Checking attic insulation

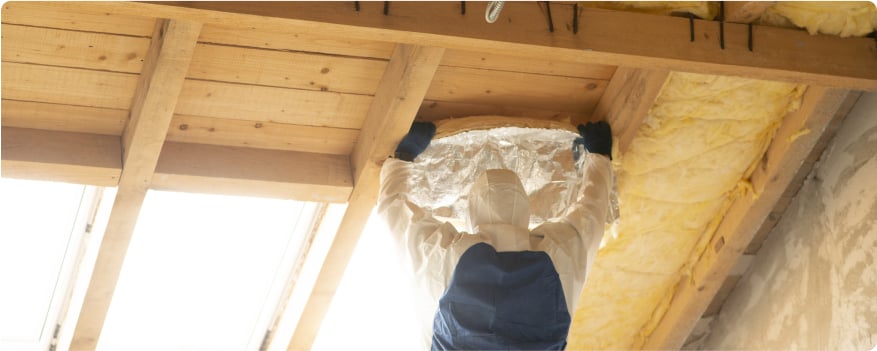
The insulation in your attic is key to regulating the overall temperature of your home — and, it’s often one of the easiest types of home insulation to access. Follow these steps to conduct an attic insulation inspection:
- Measure Insulation Depth: Once you’ve accessed your attic and located the insulation, it’s time to measure it. Attic insulation should be fluffy and uniformly distributed. Use a ruler or tape measure to check the depth. Generally, the recommended depth is between 10 to 14 inches, depending on the type of insulation and your climate zone.
- Look for Gaps or Low Spots: Walk around (being careful not to step between joists) and check for any areas where the insulation is compressed or missing. These low spots can allow heat to escape.
- Inspect for Moisture: Look for any signs of moisture or mold. Moisture can damage insulation and reduce its effectiveness.
- Check for Air Leaks: Look for gaps around attic penetrations like vents, chimneys, or light fixtures. Sealing these gaps with caulk or spray foam will help your insulation perform better.
Checking wall insulation

Unlike the attic, wall insulation is hidden, but you can still check it using a few effective methods:
- Remove an Outlet Cover: One of the easiest ways to check wall insulation is to remove the cover of an electrical outlet:
- Turn Off the Power: Before starting, make sure to turn off the electricity to the outlet at your breaker box to avoid any risk of electric shock.
- Remove the Cover Plate: Use a screwdriver to remove the outlet cover. Then, use a flashlight to look inside the wall cavity. You may also use a plastic crochet hook to gently pull out a small piece of insulation to identify the type.
- Use a Probe Tool: Use a straight, thin probe (such as a skewer or a wire) to carefully measure the depth of the insulation. Insert the probe until you feel resistance (the back of the wall), then mark the depth. Remove the probe and measure the marked length to determine the thickness.
- Look Behind Baseboards: If you’re comfortable doing so, you can also check for insulation by gently prying off a section of baseboard:
- Baseboards often cover a gap between the drywall and the floor. Carefully remove a piece to check for the presence of insulation. If you find none, it’s likely that your wall is not insulated.
- If you do find insulation, use a tape measure or ruler to measure the depth from the interior drywall to the insulation. This will give you an approximation of the thickness.
- Infrared Thermometer or Camera: Another effective way to check for wall insulation without any disassembly is to use an infrared thermometer or thermal imaging camera. These tools can help detect temperature differences, showing where your walls may lack insulation. They can be especially helpful during colder months when heat loss is more noticeable.
Signs that your insulation needs improvement
Ideally, you should conduct an insulation inspection about every 5-10 years to make sure that it’s getting the job done. If you’ve experienced a severe weather episode, or have other reasons to doubt its efficacy, you should definitely check your insulation sooner. In addition to physically checking your insulation, there are also signs that indicate your insulation may be insufficient:
- Drafts and Temperature Variations: If you feel drafts or notice that some rooms are colder or hotter than others, your walls may lack proper insulation.
- High Energy Bills: A sudden increase in your energy bills, especially during winter or summer, often means your insulation is not effectively keeping your home’s temperature stable.
Understanding and calculating R-value needs
Different parts of your home require specific R-values — a measure of insulation's ability to resist heat flow. The higher the R-value, the better the insulating power.
- Attics: Typically need an R-value of R-38 to R-60 in colder climates.
- Walls: Exterior walls usually need between R-13 to R-21, depending on your climate zone.
- Floors and Crawl Spaces: Floors over unconditioned spaces, like basements or crawl spaces, usually need an R-value of R-25 to R-30.
The R-value is cumulative, meaning you can add insulation to increase your home’s overall R-value if existing insulation is insufficient. To calculate the R-value of your insulation, measure the thickness in inches and multiply it by the R-value per inch of the insulation type (e.g., fiberglass batts typically have an R-value of about 3.2 per inch). In wall inspections, you can use a probe tool to measure the depth of insulation and calculate an approximate R-value based on the type.
It’s also essential to make sure that your insulation is up to code. Building codes set minimum R-value requirements, which vary by region to account for local climate conditions. To check the insulation codes for your area, you can refer to resources like this guide from the Insulation Institute.
Selecting the right materials for insulation repairs
Choosing the right type of insulation is key to making sure your repairs are effective. The type of insulation you choose will depend on where you’re installing it, your budget, and the climate you live in. Have these important tools to have on hand for insulation repairs:
- Goggles or safety glasses
- Dust mask or respirator
- Gloves
- Utility knife
- Fiberglass batts
- Blown-in cellulose
- Spray foam or caulk
- Rigid foam board
- Mineral wool
Safety tips for working with insulation
Working with insulation is typically a DIY-friendly job, but it’s important to take steps to keep yourself safe. Keep these some tips to keep in mind:
- Wear Protective Gear: Use gloves, safety goggles, and a dust mask or respirator to avoid irritation and respiratory issues — especially when working with fiberglass!
- Avoid Skin Contact: Insulation materials can irritate the skin, so always wear long sleeves and pants to cover exposed areas.
- Work in a Well-Ventilated Area: When installing or handling insulation, make sure the area is well-ventilated to minimize inhaling dust or fumes.
- Watch for Electrical Hazards: Be cautious around wiring. Make sure power is off in areas where you’ll be working to avoid potential electrical hazards.
- Avoid Compression: Insulation works best when it’s fluffy. Avoid stepping on or compressing the material, as this can reduce its effectiveness.
How to perform insulation repair
Once you’ve identified areas where your insulation is lacking, it’s important to take steps to repair it so that your home is prepped for the upcoming season. Follow this step-by-step guide for approaching insulation repairs:
- Seal Air Leaks: If you’ve noticed air leaks around windows, doors, or utility penetrations, seal these areas first. Use caulk for small gaps and spray foam for larger openings.
- Remove Damaged Insulation: Carefully remove damaged or wet insulation using a knife or shovel. Use gloves to avoid irritation. Make sure to dispose of any damaged insulation properly. Because fiberglass doesn’t effectively absorb water, wet insulation should always be replaced, otherwise it may lead to mold growth.
- Cut New Insulation to Size: If you’re installing fiberglass batts or mineral wool, measure the area you need to fill and cut the insulation to size using a utility knife. Make sure to cut slightly larger than the space to ensure a snug fit without compressing the material. Mineral wool is especially effective for areas where fire resistance is important, such as around chimneys or heating equipment.
- Install the New Insulation
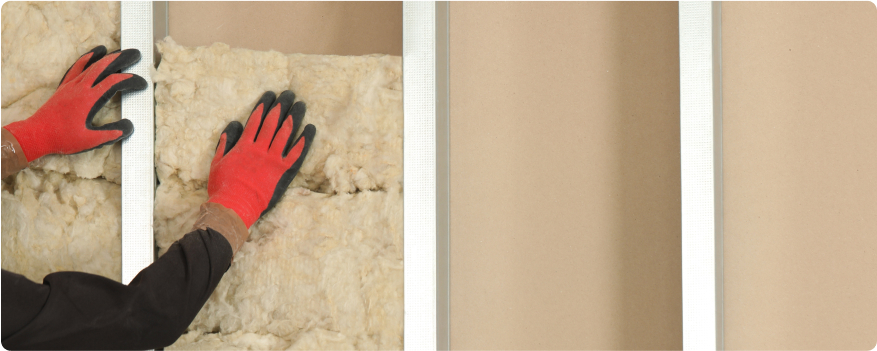
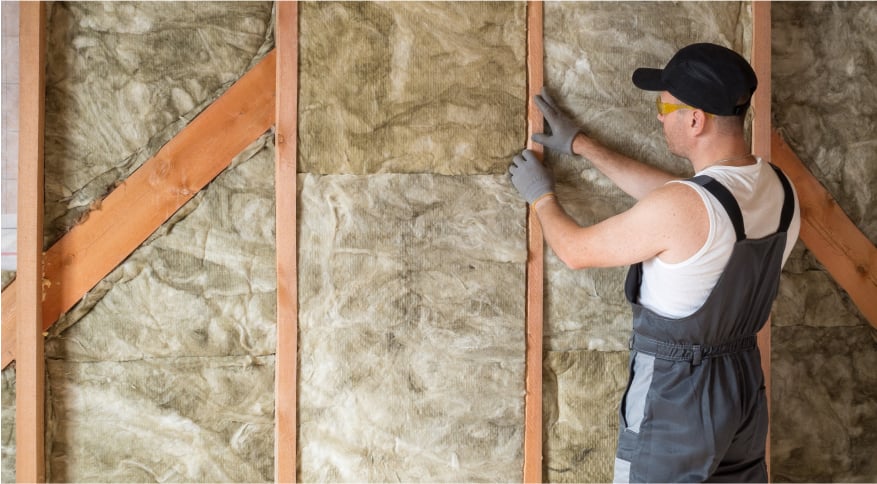
- Fiberglass Batts or Mineral Wool: Place the new insulation in the area you’ve prepared. Make sure it fits without gaps or compression.
- Blown-In Cellulose: If you're using blown-in cellulose, use a blower to evenly distribute the material in attics or wall cavities. This is ideal for hard-to-reach areas or when you need additional coverage to boost R-value.
- Rigid Foam Board: For areas like basement walls or foundations, rigid foam board is an effective choice. Cut the foam board to fit the space and secure it with adhesive or fasteners, ensuring that seams are sealed to prevent air leakage.
- Add a Vapor Barrier (If Needed): Depending on your climate and the location of your insulation, you may need to install a vapor barrier to prevent moisture buildup. Vapor barriers are often used in basements or crawl spaces to help keep insulation dry.
- Inspect Your Work: Once the new insulation is in place, do a quick inspection to make sure everything is fitted properly. Look for gaps, areas that might be compressed, or spaces where air could still be leaking.
When to call in the Experts
While in most cases you’ll be able to tackle insulation issues yourself, even the best DIY-er knows that sometimes Expert help is required. You may need some help from a professional repairman if you run into any of these situations:
- Significant Damage or Mold Issues: If your insulation is sopping wet or has large patches of mold, seek professional help. Mold can pose serious health risks, and a professional can make sure that both the insulation and any mold issues are properly addressed.
- Difficult-to-Reach Areas: For insulation in hard-to-access areas — like behind walls or in narrow crawl spaces — it's better to bring in a professional. They have specialized equipment to work safely and effectively in these challenging spaces.
- Major Insulation Upgrades: If you're upgrading all the insulation in your home, a professional can help you choose the right type and ensure it’s installed correctly. This is especially true for spray foam insulation, which requires special tools and expertise.
- Concerns About Energy Efficiency: If you’re not sure where your home is losing energy or want a comprehensive assessment, an energy audit by a professional can be very helpful. They can use tools like thermal imaging to pinpoint exactly where your home needs attention and suggest targeted solutions.
- Electrical Hazards: If there are electrical components near the insulation, such as wires or outlets, professionals can ensure safety while making repairs. This prevents potential hazards that could lead to electrical fires.
Open the Frontdoor to home energy efficiency
Got lingering questions about home insulation? Are you elbow-deep in an electrical socket or unsure about R-values? Want more advice about maximizing your home’s energy efficiency? When you download the Frontdoor® app, you’ll get unlimited access to video chats with knowledgable home repair and home maintenance Experts excited to assist you with all of your DIY needs.
And, if you end up needing more help than a video chat can provide, Frontdoor can connect you instantly with a local network of qualified Pros to make sure your home insulation inspection is done right.
Plus, check out the Frontdoor blog for more tips on preparing for seasonal switch-ups, from your fall home maintenance checklist to winterizing your home.
Was this article helpful?


